1. Login to the cPanel ‘Control Panel’
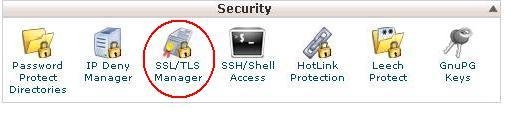
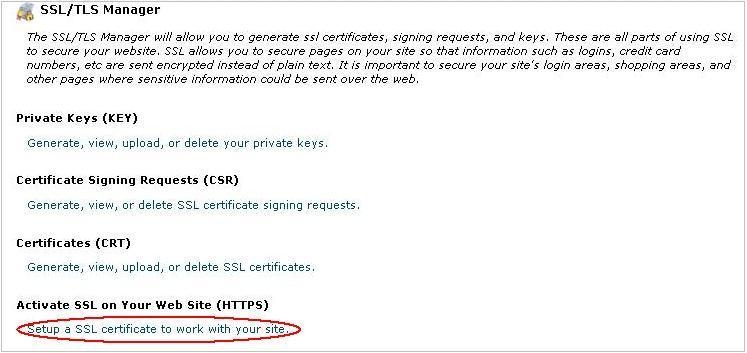
2. Navigate to and click SSL/TLS Manager under the Security section.
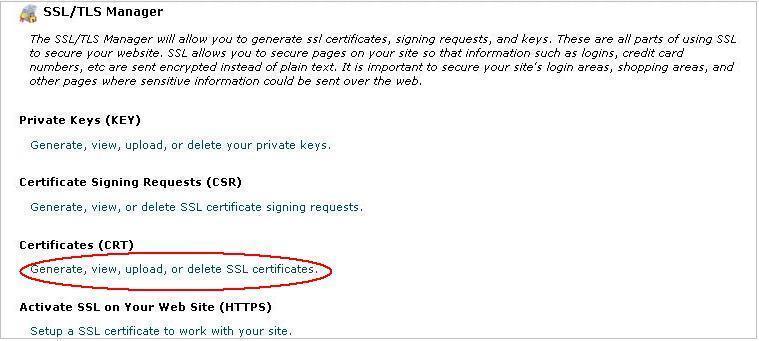
3. Proceed by clicking Generate, view, upload or delete SSL Certificates in the ‘Certificates’ section.
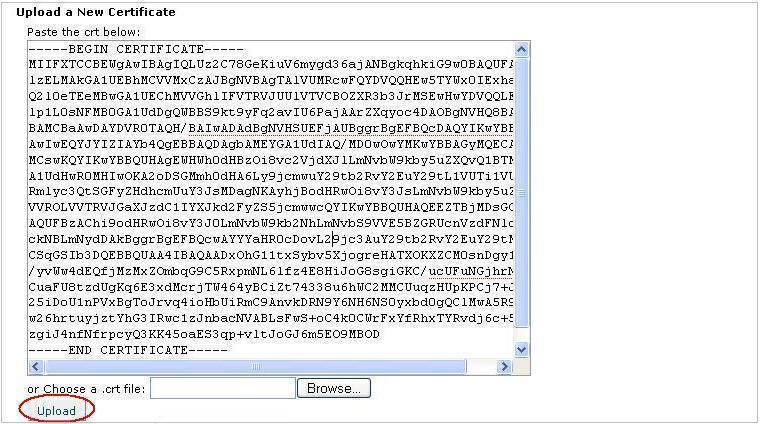
4. Import Domain/End Entity Certificate.
a. Copy and Paste the contents of ‘yourDomainName.crt’ into the text box labeled ‘Paste the crt below’ in the ‘Upload a New Certificate’ section.
– or –
b. Navigate to and click ‘Browse’ and navigate to ‘yourDomainName.crt’ and then Navigate to and click ‘Upload’.
5. Navigate to and click Go Back.

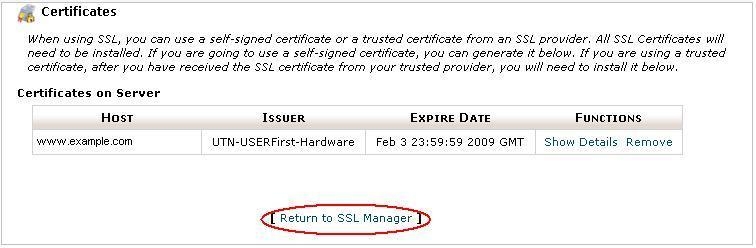
6. Scroll down to the bottom of the page and Proceed by clicking Return to SSL Manager.
7. Proceed by clicking Setup a SSL Certificate to work with your site.
8. Select the domain you are using from the Domain drop-down menu. The system will attempt to fetch the SSL Certificate and Private Key for you.
Note: You do have the option to copy and paste these files into their appropriate boxes at this time.
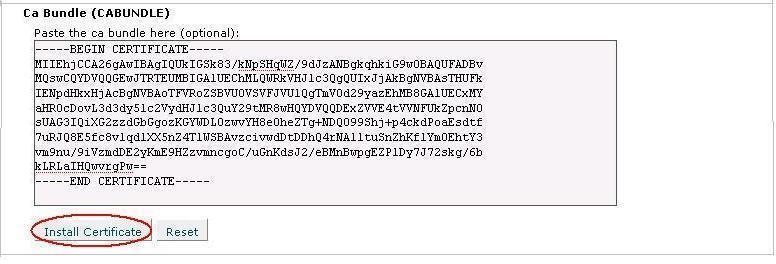
9. In the box labled CA Bundle, paste the contents of the CA Bundle file that was provided.
Note: If you did not receive a ca-bundle file, you may download one from our Root & Intermediate Certificates section of our Downloads area. Please download the one that corresponds to the certificate that you have. If you are unsure, please contact support.
10. Proceed by clicking Install Certificate.
The certificate is now added to your server and assigned to the domain.