How to install an SSL certificate on Vesta cPanel
Once you have obtained the trusted SSL certificate issued by the Certificate Authority, you can follow the steps below in order to install the certificate in VestaCP:
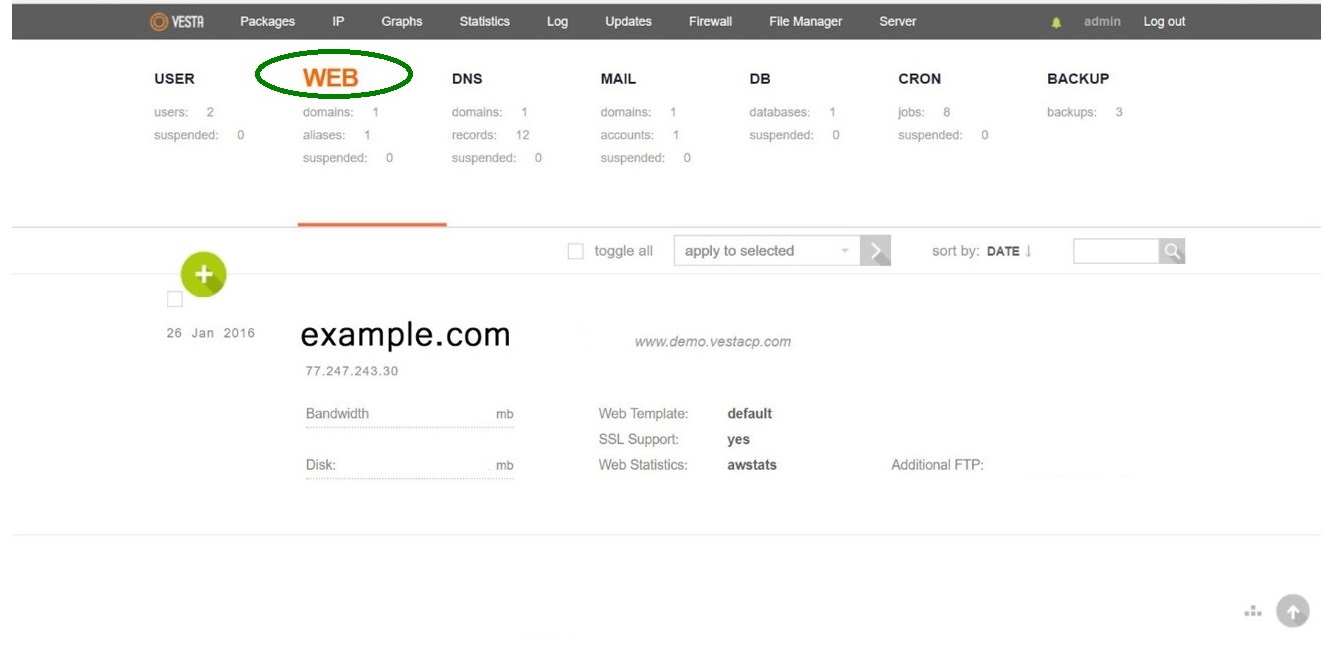
- Log into your VestaCP account and Select the WEB tab:
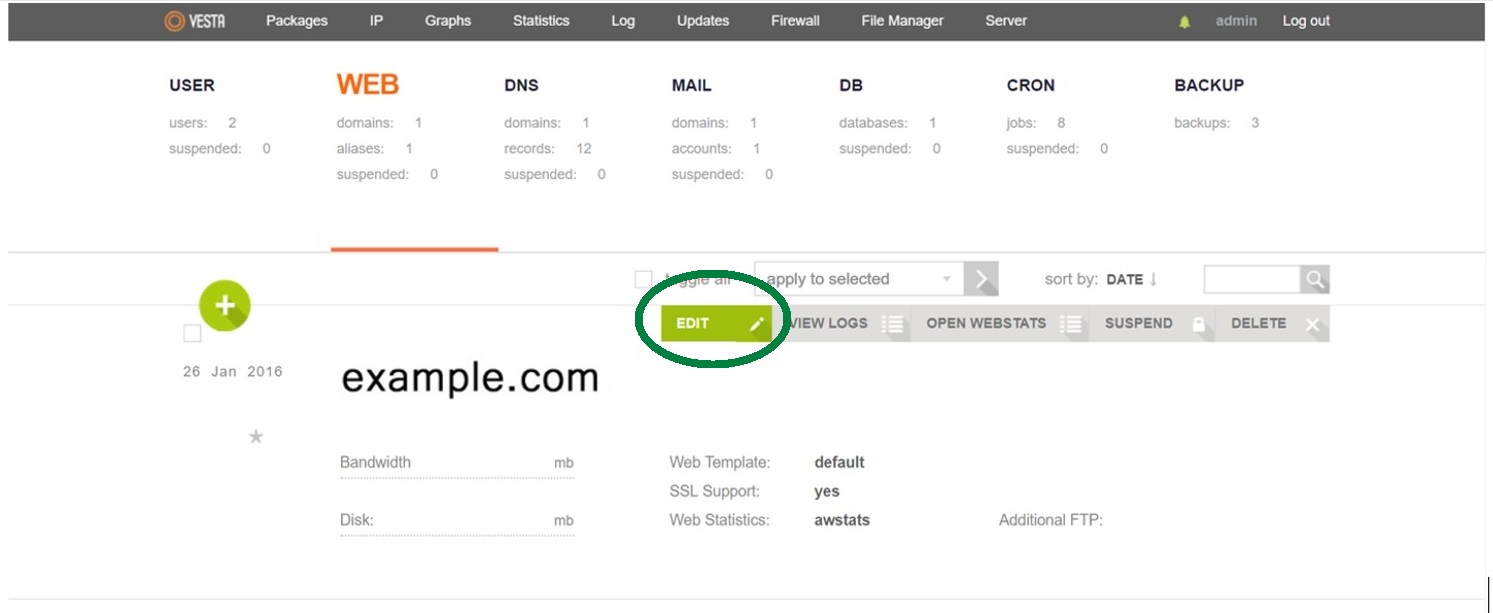
- Hover over the domain the certificate was issued for and Select the Edit button above the domain:
- On the new page, locate the SSL Support option and make sure that it is checked:
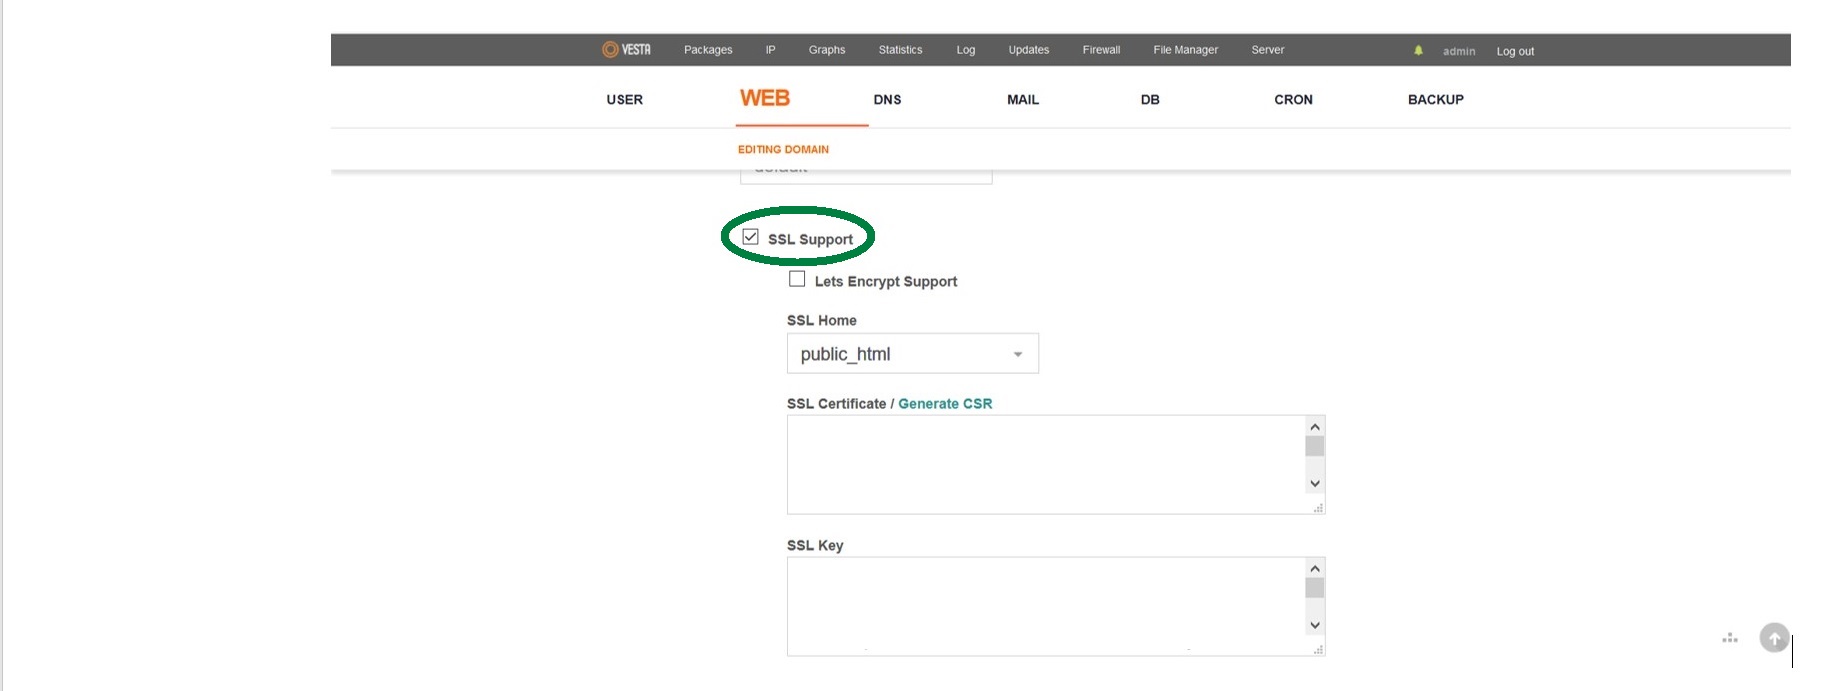
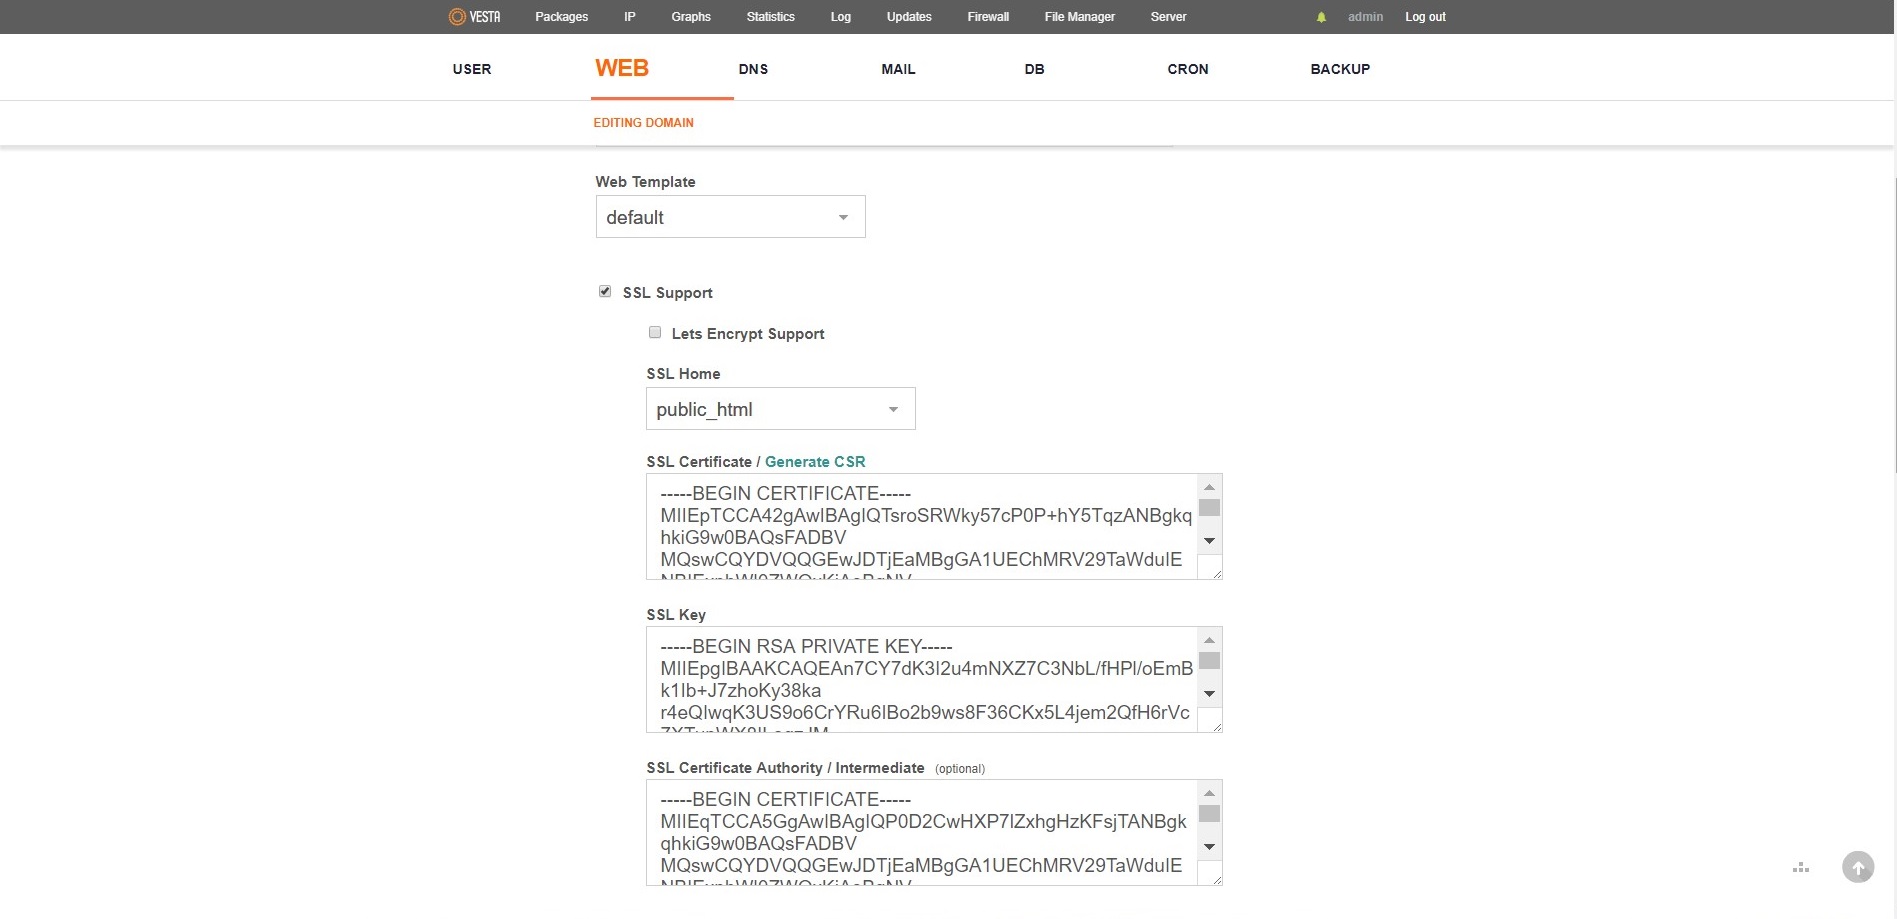
- Below the SSL Support option, you will see three fields to be filled out in such a way:
- Your domain certificate should have the .crt extension (Security Certificate type).
- SSL Key should contain an RSA/ECDSA Private key that was created at the CSR generation step. If you generated the CSR via your VestaCP, the Private key should have been saved in a separate file. Also, it is possible to get the Private key from the server via SSH.
- A CA Bundle which includes Intermediate and Root (optional) certificates should be entered in the SSL Certificate Authority / Intermediate box. The CA Bundle file will have a .ca-bundle extension (the CA-BUNDLE File type) correspondingly
Note: If the Let’s Encrypt Support option is checked, the trusted certificate will not be shown, and the Let’s Encrypt certificate will work for your website instead. This option is quite new and it is available only for the new versions of Vesta CP. - After all boxes are filled in, scroll down the page and press the Save button.
From this point of time, your SSL certificate is installed.