Installing an SSL certificate in CWP 7
To install this SSL certificate, you will need to perform the steps listed below.
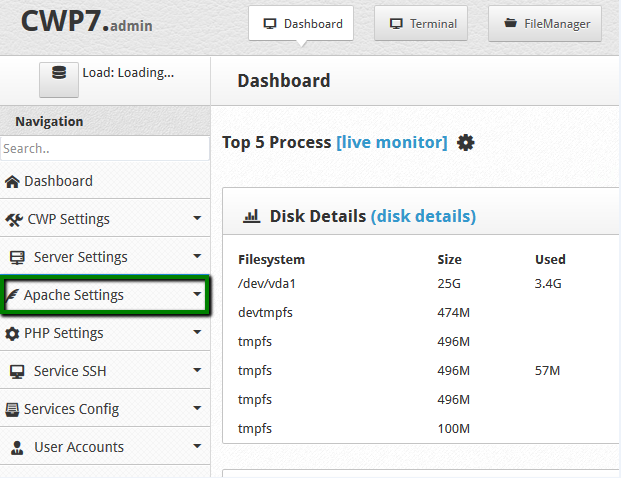
- Log into your CWP admin area and locate Apache Settings from the left-hand navigation menu:
- Select SSL Certificates option from Apache Settings and switch to the Manual Install tab:
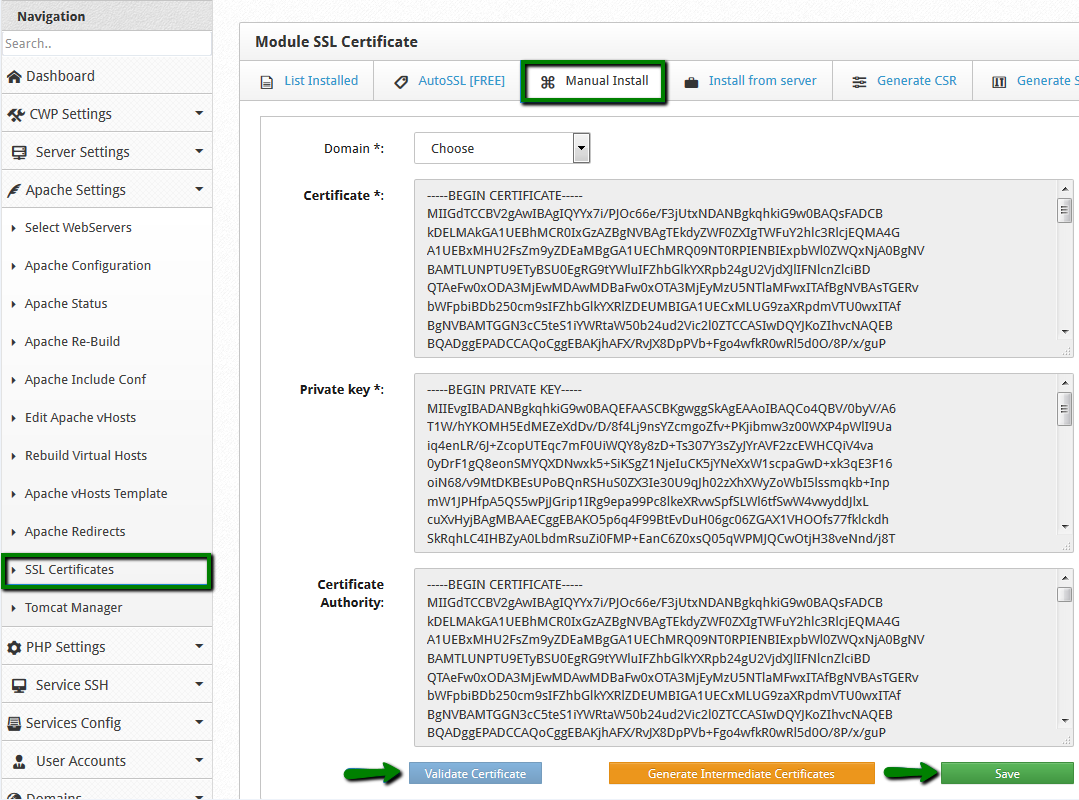
- Now choose your domain name from the drop-down list provided.
- Next, copy the certificate code you received from CA including the —–BEGIN CERTIFICATE—– and —–END CERTIFICATE—– tags, pasting it to the ‘Certificate’ box. The code can be found in the file with .crt extension or you can copy it directly from where you received.
- Paste your Private Key code into the corresponding box. It should look like a block of code with the header —–BEGIN PRIVATE KEY—– and footer —–END PRIVATE KEY—-. Please make sure to use the same Private Key code that was generated with your CSR code.
Note: If your CSR/Private Key pairing was generated in CentOS Web Panel (CWP), the key will be automatically fetched by the system when you select your domain name. If for some reason it does not happen automatically, the key can also be found via this path: File Manager >> etc >> pki >> tls >> private. - Now copy and paste the chain of intermediate certificates (CA Bundle) into the Certificate Authority box. Alternatively, you can select Generate Intermediate Certificates.
- Navigate to and click Validate Certificate to ensure the certificate matches the Private Key.
- Navigate to and click Save.