Apple Mac OS X Server 10.7
Certificate Signing Request (CSR) Generation Instructions for Apple Mac OS X Server 10.7
This guide outlines the steps required to generate a CSR for this server or platform.
Note:
To generate a CSR, you will need to create a key pair for your server. These two items are a digital certificate key pair and cannot be separated. If you lose your public/private key file or your password and generate a new one, your SSL Certificate will no longer match.
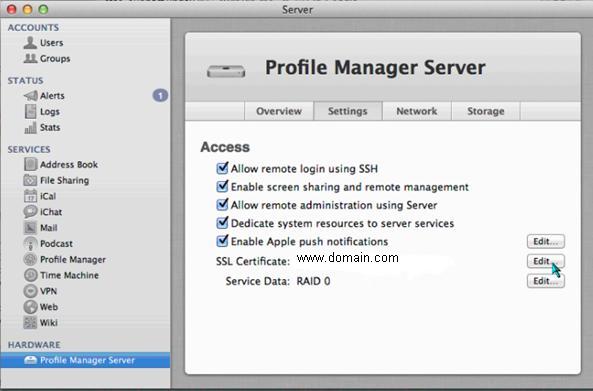
Step 1: Start Profile Manager
- Log in to the server, and in the Services list, click Profile Manager.
- Verify that you choose the “Settings” option, then Select “Edit” button.
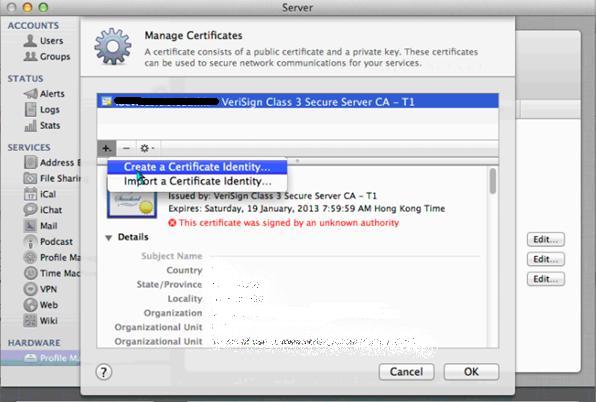
- In the Manage Certificates screen, Select the plus sign and choose ” Create a Certificate Identity”
- Please Verify that you tick “SSL Server” in the Certificate Type. Also enter a name for the certificate for reference.
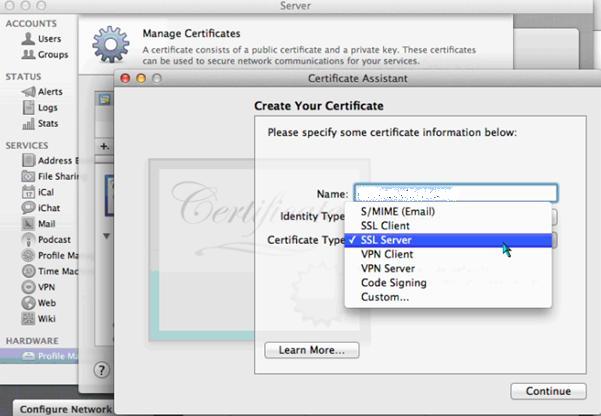
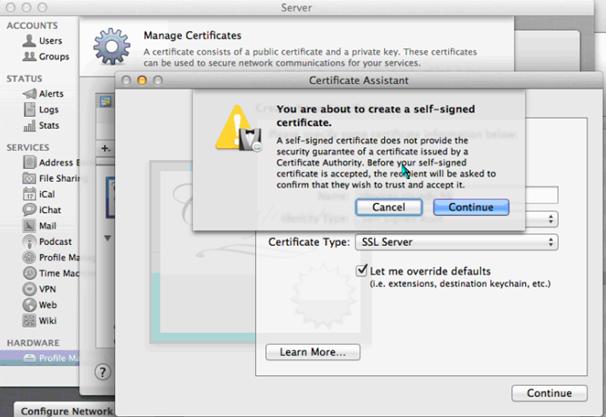
- This step would create a self-signed certificate, which is required before you can generate a new CSR.
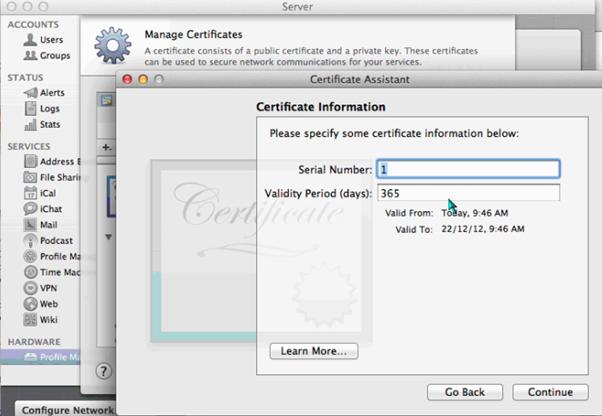
Step 2: Generate the CSR
- In the Certificate Information page, leave the value as default.
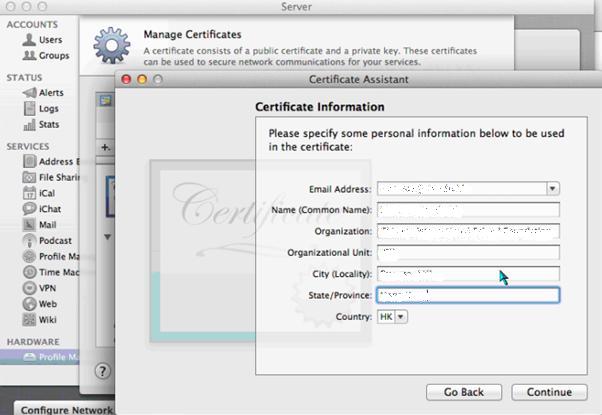
- Next please enter the distinguish name of your CSR
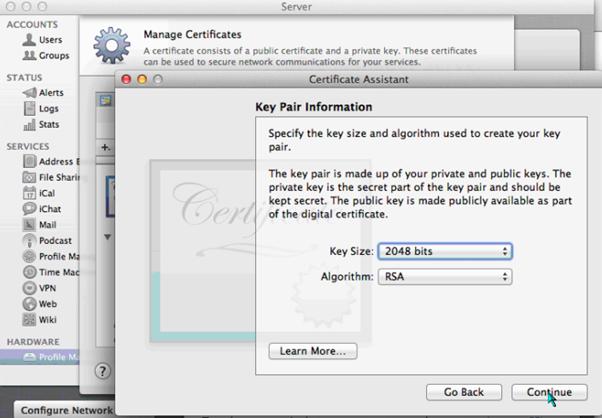
- Select keysize as 2048 bit.
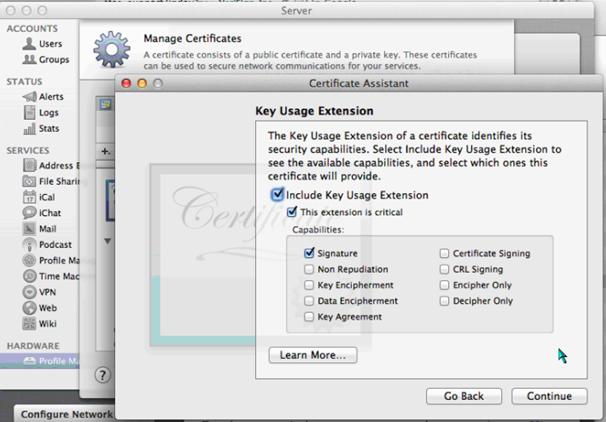
- Leave the key extension as default.
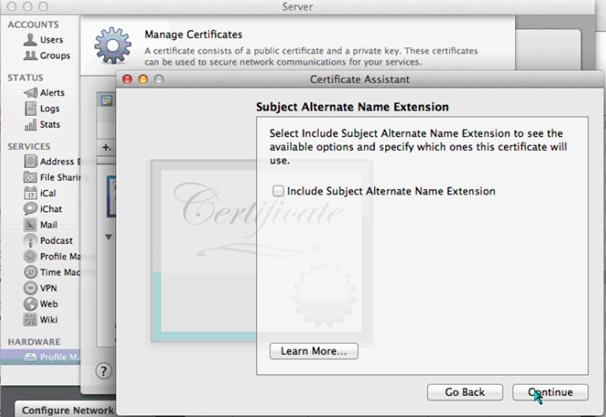
- At this stage, you can enter the Subject Alternate Name if you like
- You would see a certificate summary page
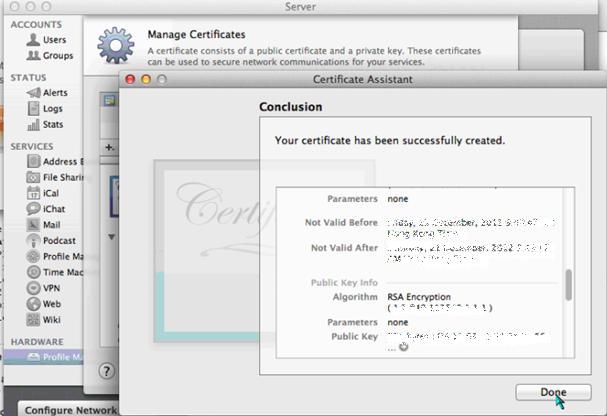
- Select “Allow” to export the key

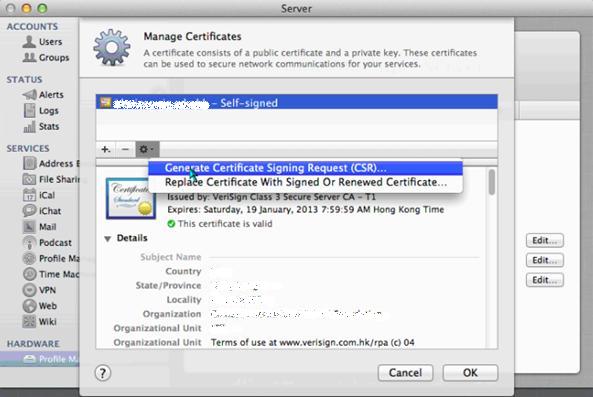
- Go back to server.app and then Manage certificates
- Now Select Create Certificate Signing Request (CSR) as shown in the diagram below.
- You should see a CSR at this stage.
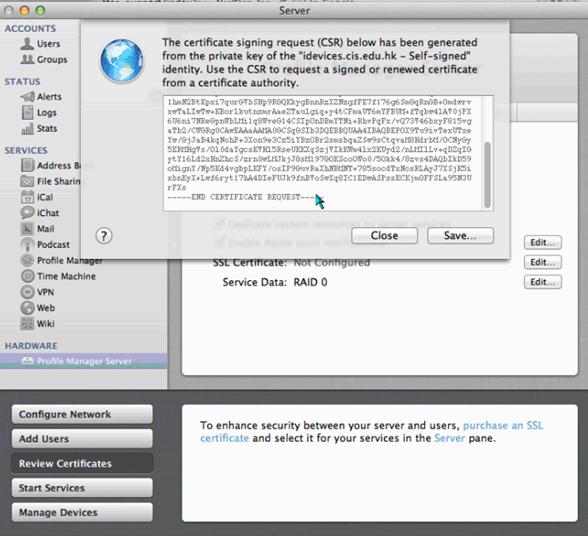
- Use this CSR for enrolment of your SSL certificate.
Note:
During the enrolment open the file you created from the above steps and copy the contents into the enrollment form
when requested for the CSR. - Verify your CSR