- Login to your Plesk Panel.
-
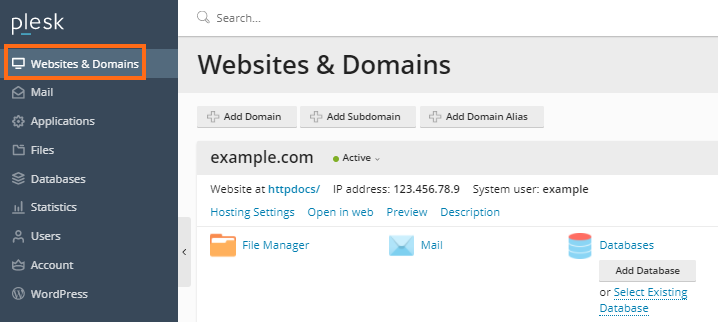
Select Websites & Domains from the left side menu.
-
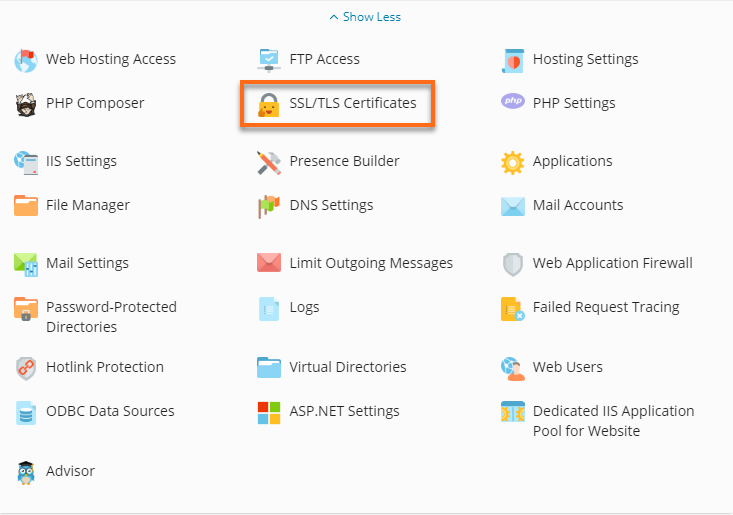
Locate and Proceed by clicking the SSL/TLS Certificates button in the additional options.
-
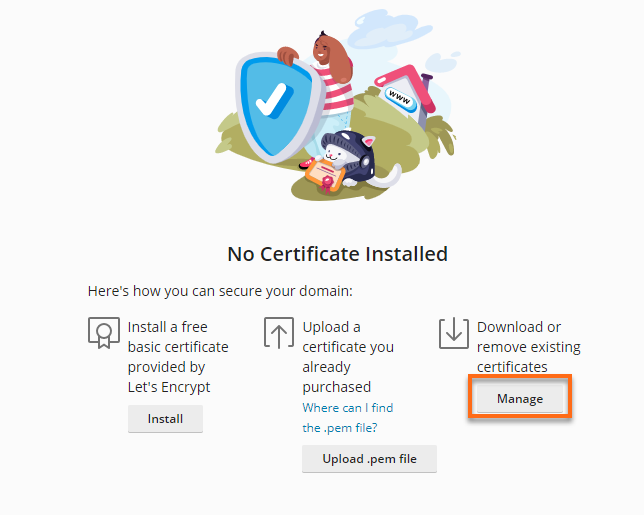
Proceed by clicking the Manage button under the Download or remove existing certificates.
-
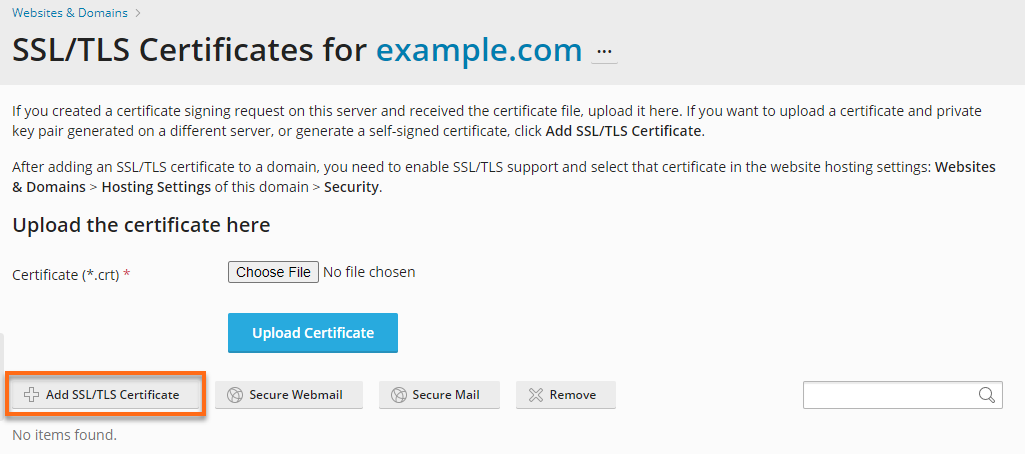
Proceed by clicking Add SSL/TLS Certificate.
-
Scroll down to the Upload the certificate as text section and then paste each section from the certificate file into the corresponding fields.
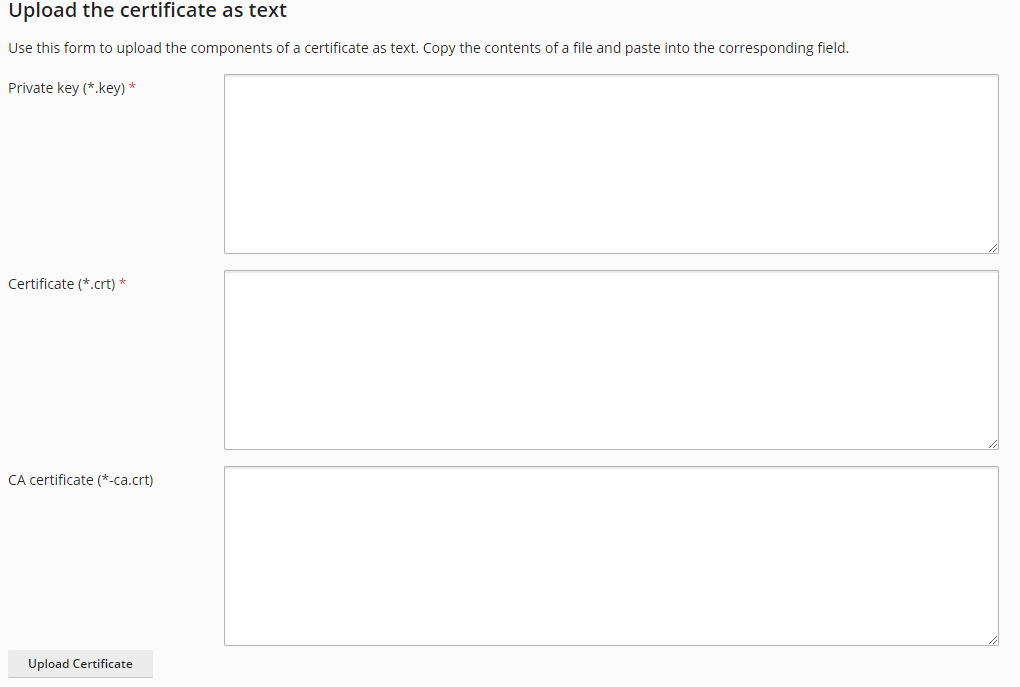
- Proceed by clicking Upload Certificate.
-
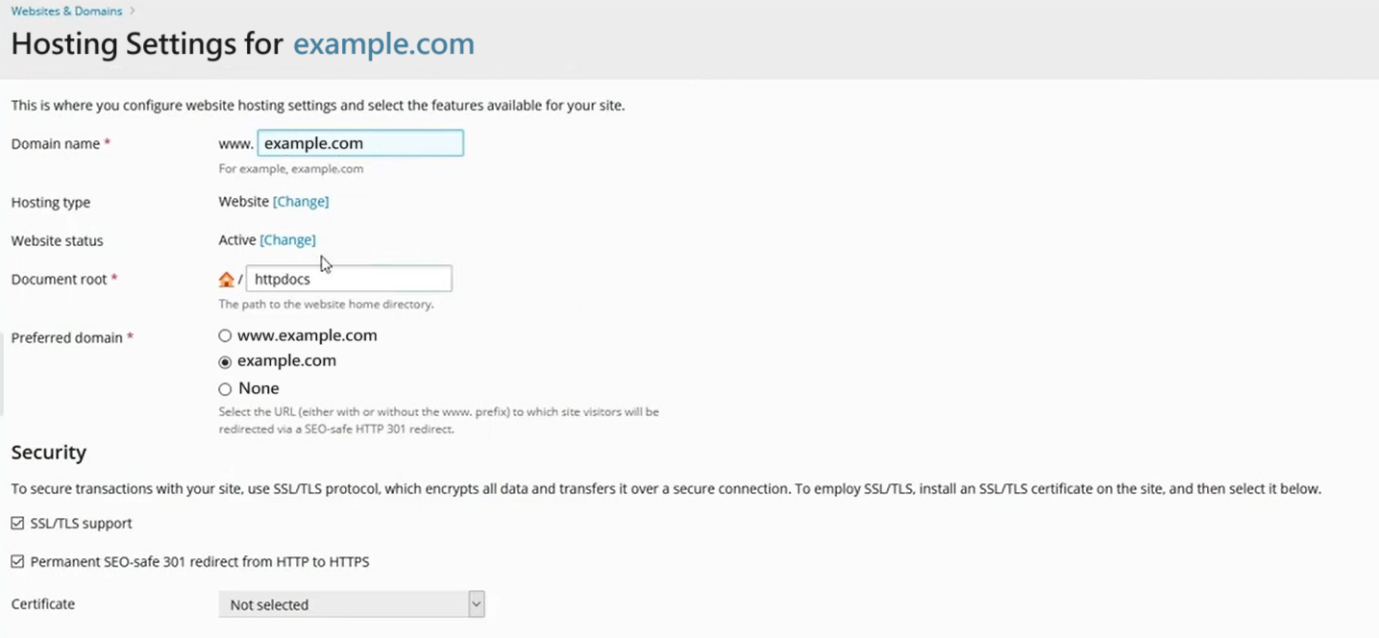
Go to Websites & Domains, select Hosting Settings.

-
Under Security, enable the SSL/TLS support option.
-
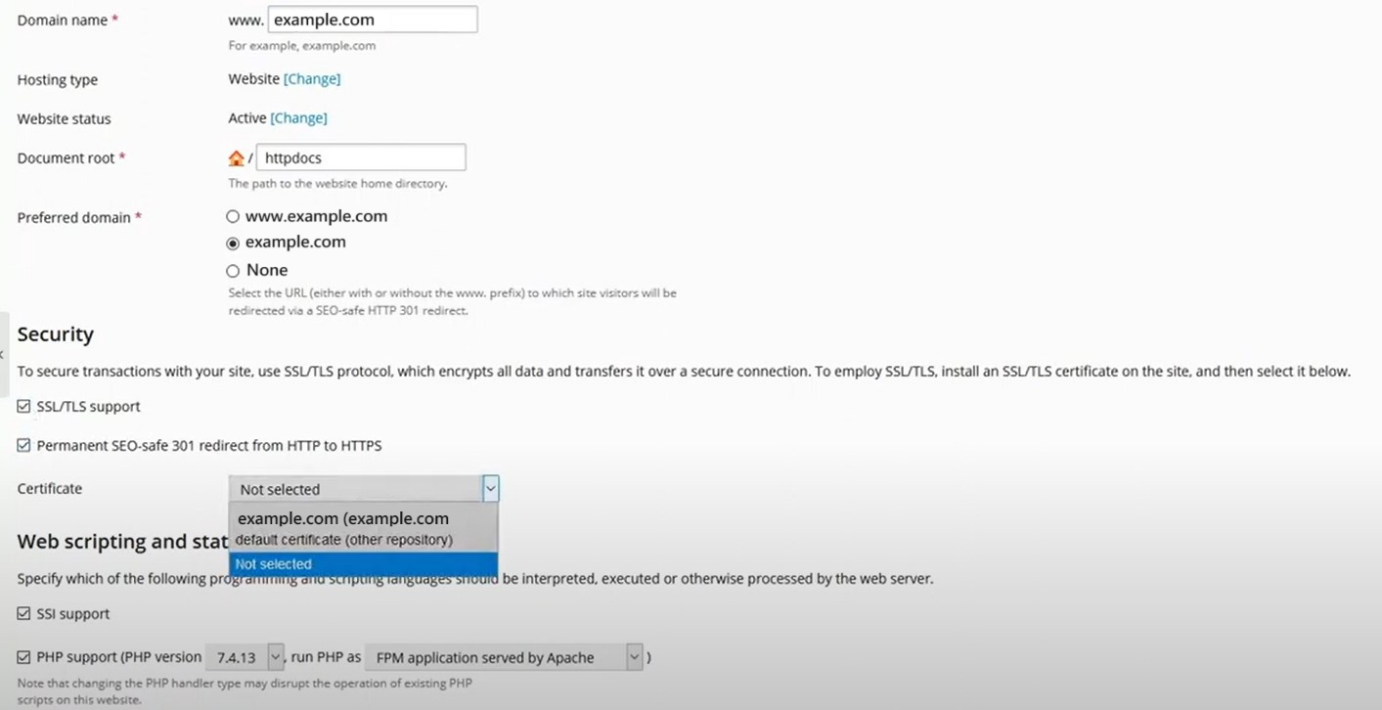
On the Certificate option, select the certificate uploaded on the previous step.
-
-
Proceed by clicking OK
Note: If your server is running Linux, stop and start the Apache process. If your server is running Windows, stop and start the IIS service. If you are unable to perform this or are uncertain the server type Plesk is running on contact your hosting provider for assistance.
Plesk with Apache Web Server
- Select Tools & Settings in Plesk
- Under the ‘Server Management’ – Proceed by clicking ‘Services Management.’
- In the ‘Web Server (Apache),’ you can restart the Apache Service by clicking on the yellow button.
Plesk with Windows IIS Web Server
- Go to Tools & Settings in Plesk
- Select IIS Application Pool
- Proceed by clicking Recycle.
- Your SSL certificate is now installed and should be configured for its website.